Measuring Your Garments
- Rachel Erickson

- Mar 15, 2022
- 3 min read
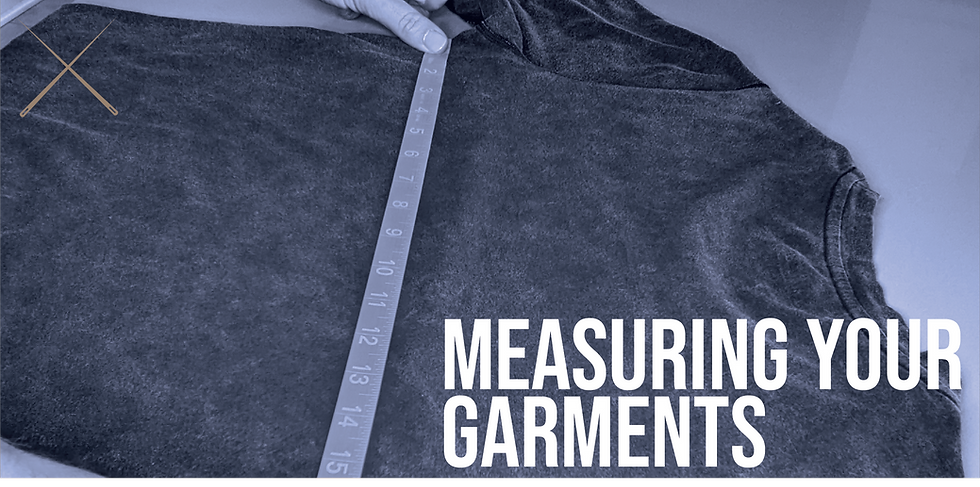
Measuring your garments before a fitting is an absolutely essential step of apparel development. Especially if you’re working on knit or stretch garments, you want to capture the garment’s natural, flat specifications before it ever goes onto a body. This will give you a few pieces of crucial information.

First, it will give you an opportunity to capture the closest measurements to the pattern as possible. While the garment is flat, folded and pressed, it will best represent the pattern that made it and the sewing quality of the factory. Second, it will offer you the chance to double check your factory’s measuring methods. If you’ve measured an area of a garment that’s significantly different from what your factory measured, it gives you an early opportunity to catch the discrepancy and make sure they understand how you want to measure your pieces going forward.
Many brands will utilize a “How to Measure” manual when working with factories. It helps to standardize the ways that everyone is measuring a single garment or garment type. It also helps to clarify and explain your Points of Measure (POM) to every team member.
When I use How to Measure Manuals, I code each POM to refer back to a Graded Specification. For example, all of my tops measurements have a code that begins with a “T.” T01 through T30 are built into my standard Graded Specs, which then go hand-in-hand with the diagrams in the manual. These POMs are also arranged in a logical order, so that measuring your garment will go as quickly as possible. All front body POMs are listed first, from top to bottom of the garment. Then, I flip over my garment to measure the back before moving on to measure sleeves and details. This may seem unnecessary, but if you’ve ever measured up to twenty garments in a day, you’ll appreciate the speed and ease this offers.
Here’s an example of my first tops POM and its description:
T01 | NECK WIDTH | Lay the garment flat with the front facing you. Measure straight across at High Point Shoulder from seam to seam. |
On the diagram, we then use lines or arrows on a flat sketch of a shirt to visually represent these words. Visual tools for factories that may not use your language as their first language is often crucial to helping your overseas teams understand and utilize the tools you provide.

When measuring, it is ideal to stand at a large table where you can move the garment around, flip it over and fold it as you need. When I was an intern in Technical Design back in 2006, I spent the majority of my every day measuring garments. I wore comfortable shoes and had a cushioned floor mat to relieve the stress of standing in one place for up to 5 hours at a time. After months at this job, I started to feel like I’d done enough measuring to understand how to craftily cut corners or sit down while measuring, and I got a little lazy. Let me tell you, it shows when you don’t measure properly! I was reporting to my managers that poorly fitting garments were due to incorrect measurements, when it ended up being my lazy measuring style that was the problem! I learned quickly that nothing is worth cutting corners over. Even the simplest of tasks done incorrectly can damage a process or a product. Don’t let yourself fall into this trap! This is one of those tasks where proper posture and technique can actually make or break all of your next processes.
Capture all of your measurements as you go down the measurement sheet and bring your prepared details to the fitting with you. Calling out any areas that are not measuring properly up front will help the team to decide how to proceed and communicate back to the factory after the fitting. For example, if you found that the chest measured too big on the garment, but it looks great on the body, you can tell your factory to keep the measurements “as on sample” and maintain for the next proto round. You wouldn’t be able to do that if you didn’t measure the garment correctly, first.
Measuring every detail of every garment is time consuming and can feel very tedious, but know that it is such an important part of the apparel development process. If you cut corners, it will only lead to mistakes, miscommunications and issues down the road. Make it easier on you and your team, and take the time to do it right the first time. I promise it will be worth the effort.


